In today’s digital world, capturing and sharing screenshots is crucial for both personal and professional needs. Whether it’s to document an error, record an online transaction, or share a stunning landscape, taking a screenshot is a swift and effective method. This guide will delve into various ways to capture screenshots on Windows 10 or Windows 11 laptops. It aims to equip you with the skills and techniques to enhance your screenshot-taking efficiency.
Key Takeaways
- Learn how to use the Print Screen key to capture your entire screen or a specific window
- Discover the built-in Snipping Tool for more advanced screenshot capturing and editing
- Explore the Game Bar’s screenshot functionality for quick and easy captures
- Utilize third-party screenshot apps for advanced features and customization
- Master keyboard shortcuts to take screenshots efficiently on your laptop
Capturing Your Screen with Print Screen
Taking a screenshot on a Windows laptop is straightforward. Press the Print Screen (PrtScn) button on your keyboard to capture your entire screen. This action copies the screenshot to your clipboard. You can then paste it into any image editing program or document.
Using the Print Screen Key
For a quick screenshot, find the Print Screen key on your laptop’s keyboard and press it. The screenshot will be copied to your clipboard, ready for sharing. This method is ideal for capturing the entire screen, whether for showcasing a new feature or troubleshooting.
Combining Print Screen with Other Keys
For more precise screenshots, combine the Print Screen key with other keys. Pressing Windows key + Print Screen saves the screenshot to the Pictures > Screenshots folder on your Windows laptop. Alternatively, Alt + Print Screen captures only the active window, not the whole screen.
These screenshot shortcut keys allow you to easily capture screen on windows laptop. You can share your screen for various purposes, like demonstrating software, troubleshooting, or capturing a memorable moment.
how to take screenshot in laptop
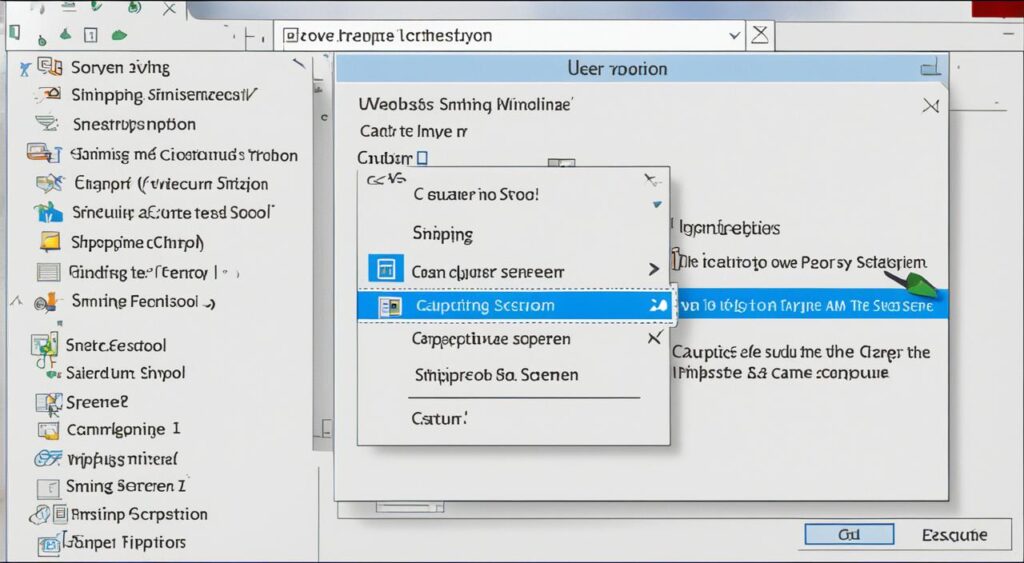
For more customizable screenshot options, the Snipping Tool is a great choice, available in Windows 10 and Windows 11. This Snipping Tool enables you to capture screenshots in various formats like rectangular, free-form, window, or full-screen shots. It also comes with basic editing tools for annotating or cropping your images. To find the Snipping Tool, just search for it in the Windows search bar and open it.
The Snipping Tool provides several screenshot modes tailored to your preferences:
- Rectangular Snip: Capture a specific area of the screen by dragging a rectangular selection.
- Free-form Snip: Draw a freehand shape around the area you want to capture.
- Window Snip: Capture a specific window on your screen.
- Full-screen Snip: Take a screenshot of your entire desktop.
After capturing a screenshot, the Snipping Tool offers basic editing tools. You can annotate, highlight, or crop the image as desired. Then, you can save the screenshot to your device or share it with others.
| Tool | Features | Compatibility |
|---|---|---|
| Snipping Tool |
| Windows 10, Windows 11 |
The Snipping Tool is a versatile and user-friendly laptop screenshot software. It allows you to capture and edit screenshots effortlessly. Whether you’re capturing a specific area, a window, or your entire desktop, the Snipping Tool offers a quick and convenient method for taking screenshots on your laptop.

Unleashing the Game Bar
Windows provides a versatile tool called the Game Bar, ideal for capturing screenshots and recording gameplay. Access the Game Bar by pressing the Windows key + G, which opens the overlay menu. From this menu, clicking the camera icon captures a screenshot, saving it in the Videos > Captures folder.
The Game Bar is not just for gaming. It’s a powerful tool for capturing screenshots in various situations. This makes it invaluable for anyone needing to quickly capture visuals from their laptop screen.
- Press the Windows key + G to open the Game Bar
- Click the camera icon to take a screenshot
- The screenshot will be saved in the Videos > Captures folder
The Game Bar’s interface is user-friendly, allowing quick access to screenshot and recording features without disrupting your workflow. It’s a reliable and convenient tool for how to take screenshot in laptop and screenshot on windows laptop.
“The Game Bar is a game-changer for anyone who needs to quickly and easily capture visuals from their laptop screen.”

| Feature | Description |
|---|---|
| Screenshot Capture | Quickly take a screenshot with the click of a button |
| Recording | Capture gameplay or screen activity with audio |
| Overlay Controls | Access various controls and settings from the overlay menu |
The Game Bar is a versatile and user-friendly tool that can streamline your workflow and help you capture valuable visuals from your Windows laptop. It’s beneficial for both professionals and casual users, offering a convenient way to take screenshot in laptop and screenshot on windows laptop.
Third-Party Screenshot Apps
Windows laptops come with basic screenshot tools, but third-party applications offer more for enthusiasts. These tools can improve your screenshot capabilities. They provide features like automatic cloud uploads, scrolling web page capture, and advanced editing.
Exploring Additional Screenshot Tools
Popular third-party tools for laptops include Lightshot, Greenshot, ScreenRec, and Snagit. They meet a variety of needs, from simple captures to complex tasks like annotating images and recording videos. They also integrate well with cloud storage services.
- Lightshot: A lightweight tool with a user-friendly interface. It allows easy capture, editing, and sharing of screenshots.
- Greenshot: An open-source utility with many features. It captures scrolling web pages, uploads to various platforms, and supports annotations and effects.
- ScreenRec: A versatile tool that captures screenshots and records the screen. It’s great for creating tutorials, presentations, or recording gameplay.
- Snagit: A comprehensive software with advanced editing options, image annotation tools, and the ability to capture entire web pages or scrolling content.
These laptop screenshot software, screenshot tools for laptops, and screen capture utilities are crucial for users needing advanced features. Trying out these tools can help you find the best one for your needs. This can boost your productivity and creativity.
Keyboard Shortcuts Galore
Windows laptops provide a range of keyboard shortcuts for taking screenshots quickly. These shortcuts streamline the screenshot process, saving you time. They are incredibly useful for anyone looking to enhance their productivity.
On a Surface device, pressing the Power button + Volume Up captures a screenshot. For other laptops, the Windows key + Shift + S opens the Snipping Tool. This tool is great for capturing and editing screenshots.
Here are some additional screenshot shortcut keys for your Dell, HP, Lenovo, or Acer laptop:
- On Dell laptops, the Windows key + Print Screen captures the entire screen.
- For HP laptops, the Fn + Print Screen combination is the shortcut.
- On Lenovo laptops, use the Windows key + Fn + Print Screen for screenshots.
- And on Acer laptops, the Windows key + Print Screen is the shortcut.
Learning these shortcuts can make taking screenshots a quick and effortless part of your daily tasks. It enhances your productivity significantly.
Conclusion
Taking screenshots on a Windows laptop is now crucial in our digital world. It’s vital for capturing important info, sharing content, or making tutorials. This article has shown you various ways to take screenshots, from the basic Print Screen key to advanced tools like the Snipping Tool and third-party apps.
Try out different techniques and use keyboard shortcuts like how to take screenshot in laptop, screenshot shortcut keys, capture screen on windows laptop, laptop screenshot software, screenshot tools for laptops, and screen capture utilities. Getting good at this will boost your productivity and help you share your work, troubleshoot, or create educational content.
No matter if you’re using a Dell laptop, HP laptop, Lenovo laptop, or Acer laptop, the methods here work well. Embrace the flexibility of screenshot-taking on your Windows laptop. This will help you use this powerful tool fully in your digital toolkit.


